This is the workshop skill behind the unit. It is assessed by doing rather than on paper — but understanding what is happening makes the practical far easier.
How stocks and dies work
The die is a hardened ring with cutting teeth on the inside. As it is turned onto the pipe it cuts a spiral groove — the thread. The teeth are shaped so that each pass takes a little more material until the full thread profile is formed.
The stock is the frame that holds the die and gives you the leverage to turn it.
Two words, two jobs: stock holds, die cuts.
The method
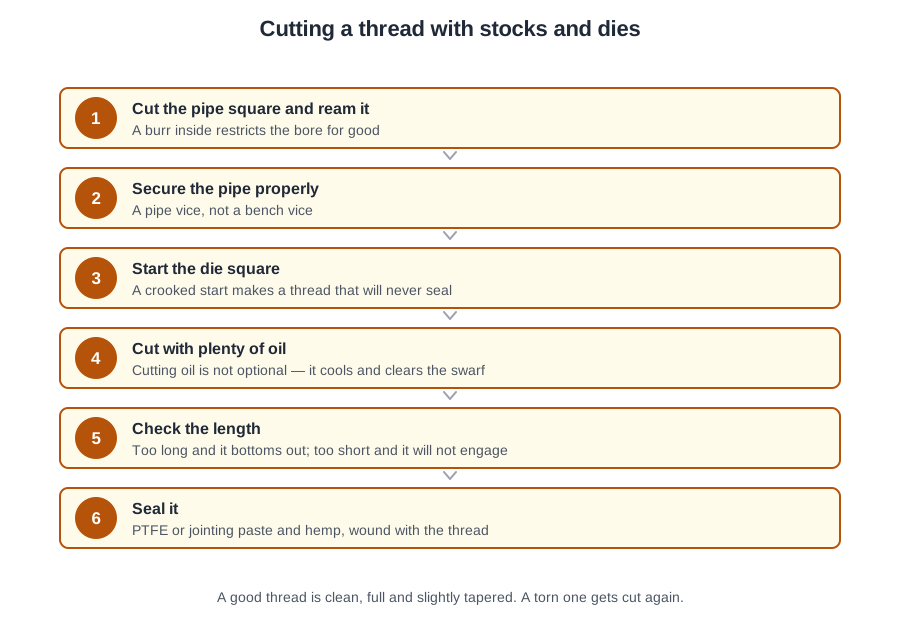
- Clamp the pipe firmly in a pipe vice, with only a short length projecting. A long projecting length flexes, and a flexing pipe gives a wandering thread.
- Cut it square and deburr the end — a burr fouls the die and stops it starting cleanly.
- Fit the correct die for the pipe size in the stock.
- Start the die square onto the pipe end, pressing firmly until it bites. Getting it square at the start is what decides whether the thread is any good — once the first few teeth have cut, the die follows the path they made and you cannot correct it.
- Apply plenty of cutting oil, and keep applying it as you go.
- Turn forward about a half turn, then back a quarter turn to break the swarf. Repeat.
- Stop when the pipe end is flush with the outer face of the die. That gives the standard thread length.
- Wind the die off, clean off the swarf, and check the thread.
Why forward a half, back a quarter
Worth understanding rather than just following. As the die cuts, it produces a continuous curl of swarf. If you keep turning forward, that curl packs into the die, jams against the fresh thread, and tears it.
Backing off a quarter turn snaps the swarf and clears it. It is the same reason you back a drill out of a deep hole.
What a good thread looks like
- Clean and sharp, not torn or ragged. A torn thread means a blunt die or no oil.
- Square to the pipe. A thread cut at an angle will never seal, and the fitting will point the wrong way. That second consequence is the visible one — an elbow that sits a few degrees off looks wrong for the life of the installation.
- Slightly tapered, so it tightens as it goes in. The taper is what makes a screwed joint seal at all: as the fitting goes further on, the threads are pressed harder together.
- The right length. Too short and the fitting will not reach; too long and bare thread is left showing, which rusts.
Sealing the joint
Here is the point that surprises people: the thread makes the mechanical connection, but it does not seal on its own.
A cut thread is a spiral groove, and a spiral groove is a spiral leak path. Something has to fill it:
- PTFE tape, wrapped in the direction the fitting turns — so that screwing the fitting on tightens the tape into the thread rather than unwinding it off. Wrapping it the wrong way is a common and completely avoidable mistake.
- Jointing compound with hemp — the traditional method, and still used on larger sizes and on heating work.
Then tighten with two Stillsons — one holding, one turning, so the force goes into the joint you are making and not into the one behind it.
Cutting oil is not optional
It comes up three times in this lesson, so it is worth putting plainly:
Cutting oil cools and lubricates the die. Threading dry blunts the die, tears the thread, and produces a joint that cannot be sealed.
And a torn thread cannot be repaired. The only fix is to cut the end off and start again — which on a pipe already fitted in a wall is a considerably worse afternoon than fetching the oil would have been.
🔢 The numbers worth memorising
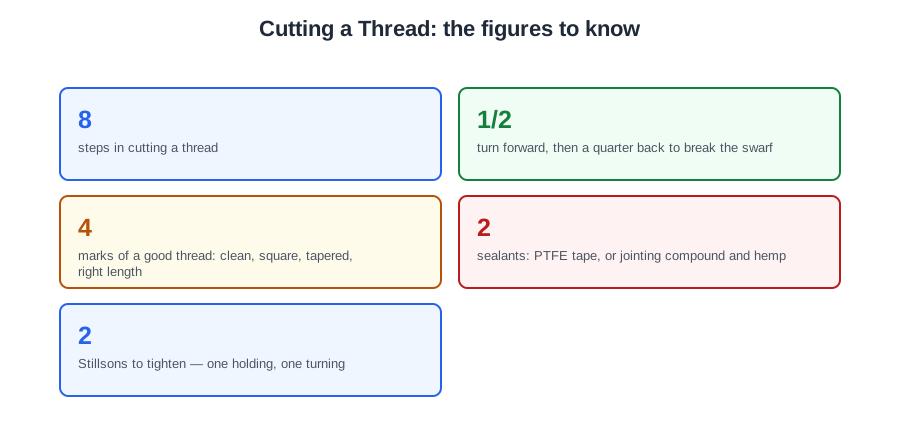
- 8
- steps in cutting a thread
- 1/2
- turn forward, then a quarter back to break the swarf
- 4
- marks of a good thread: clean, square, tapered, right length
- 2
- sealants: PTFE tape, or jointing compound and hemp
- 2
- Stillsons to tighten — one holding, one turning
⚠️ Where people go wrong
- Starting the die out of square. It cannot be corrected once the first teeth have cut.
- Turning forward continuously. Back a quarter turn to break the swarf.
- Threading dry, or with too little oil. It blunts the die and tears the thread.
- Wrapping PTFE the wrong way. It must go in the direction the fitting turns.
- Assuming the thread seals itself. It makes the connection; PTFE or compound and hemp makes the seal.
📝 8-Question Self-Test
Straight from the Level 1 course question bank. Click an option to see whether you got it right — the explanation appears instantly, and there is nothing to submit.
Stopping when the pipe end is flush with the outer face of the die gives the standard thread length.
Turning back breaks the swarf so it does not clog the die and tear the thread.
The thread makes the mechanical connection but does not seal on its own. PTFE tape is wrapped in the direction the fitting turns.
The die is cutting hardened steel and generating a great deal of heat. Oil carries the heat away and lets the teeth shear cleanly, and without it the die blunts and the thread tears.
A tapered thread seals as it tightens, and the PTFE or the hemp and compound fill the spiral gap that is left. Nothing is soldered or cemented on steel pipework.
The taper means the deeper the fitting goes the tighter it grips, which is what makes a screwed joint seal. It is also why a screwed run only tightens one way, and why a union is needed to break one.
Flush with the face of the die gives the standard thread length for that pipe size. Longer and the fitting bottoms out before it seals; shorter and there is not enough thread to grip.
A stillson grips a round pipe by biting into it, and the jaws bite harder the more you pull. Two are used together: one holds the fitting still while the other turns the pipe, so the run is not twisted along its length.
Going deeper: the same ground at Level 2
Level 1 gives you the shape of this. The Level 2 guides below take it considerably further — the regulations, the calculations and the detail you will need next. Free to read, same as these.
- Start here: Low Carbon Steel Pipework for Level 1 — the whole unit in one piece
- All 72 Level 1 guides — one per lesson, across all ten units
- The Level 1 glossary — 620 terms in plain English