Above ground drainage is plastic, so the work is cutting, marking out and deburring rather than heat. The deburring is the part people skip, and it is the part that causes the leaks.
The tools
Multi-purpose saw
Cutting plastic waste pipe, guttering and downpipe. Fine teeth give a cleaner cut — a coarse wood saw tears plastic and leaves a ragged end that has to be filed back before it is any use.
Cutting square matters as much as cutting clean. A pipe cut at an angle will not sit properly in a socket, and on a solvent weld joint it leaves a gap the cement cannot fill.
Plumb line
Finding true vertical — setting a downpipe straight down a wall.
A weight on a string, and gravity does the rest. It is worth using rather than eyeing it, because a downpipe that is slightly out is obvious from the street for the next thirty years.
String line
Marking a straight line between two points — the fall of a gutter run from the high end to the outlet.
“Fall” is the trade word for a deliberate slope. A gutter is normally given one, and the string line is how you get an even, correct slope across ten metres rather than a series of guesses.
Deburring tool
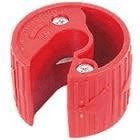
Removing the burr from a cut pipe end, inside and out. The burr is the rough lip of material left behind by the saw.
File
Cleaning up a cut end and putting a slight chamfer on it. A chamfer is a small angled bevel around the outside edge, so the pipe enters a push fit socket without damaging the seal.
Screwdriver
Fixing brackets, clips and support.
Why deburring matters
This is the part of the lesson worth understanding properly, because two different problems come from the same rough edge.
Inside the pipe: blockages
An internal burr sticks into the bore of the pipe. Waste catches on it — hair, grease, fat, tissue — and what starts as a rough edge becomes a blockage. It will not block today; it blocks in two years, and somebody has to find out why.
Outside the pipe: leaks
On a push fit joint the pipe slides past a rubber seal. A sharp external burr can cut or roll the seal as the pipe goes in. A rolled seal does not sit flat, so it does not seal, and the joint weeps.
Worse, it weeps behind a bath panel or inside a boxing where nobody looks. That is why the rule is absolute: every cut end is deburred and chamfered before it is jointed. It takes about five seconds.
Safety requirements
- Correct use of tools — the right tool for the job, used as intended.
- Tools maintained in good condition — sharp blades, sound handles.
- Appropriate PPE — eye protection when cutting, gloves for sharp cut edges.
Drainage adds a hazard the rest of the course does not: possible contact with foul water. Foul water is waste water containing sewage, as opposed to surface water, which is rainwater. It carries bacteria, so:
- Wash your hands before eating, every time.
- Cover any cuts before you start.
This is not fussiness. Waterborne infections from drainage work are a genuine occupational risk and they are entirely avoidable.
Basic maintenance
- Replace blunt saw blades rather than forcing them. A forced blade wanders off square.
- Keep the deburring tool sharp. A blunt one drags the burr round rather than cutting it off.
- Clean plastic swarf and solvent cement off tools before it sets. Once solvent cement has cured on a tool it is not coming off.
- Store them dry.
🔢 The numbers worth memorising
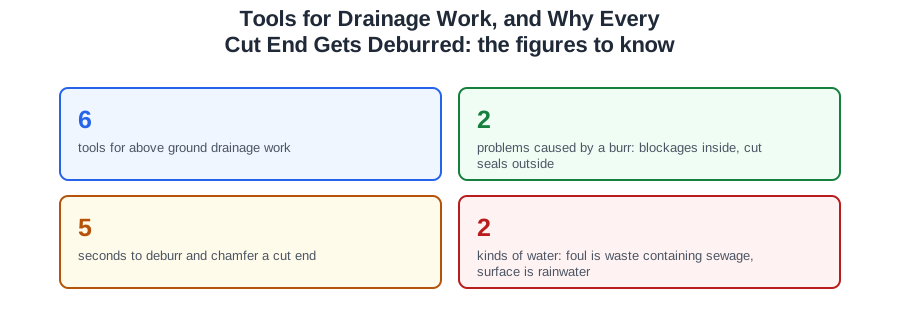
- 6
- tools for above ground drainage work
- 2
- problems caused by a burr: blockages inside, cut seals outside
- 5
- seconds to deburr and chamfer a cut end
- 2
- kinds of water: foul is waste containing sewage, surface is rainwater
⚠️ Where people go wrong
- Skipping the deburr. It causes blockages inside the pipe and cut seals outside it.
- Deburring only the inside. Both faces matter, and the chamfer is on the outside.
- Cutting plastic with a coarse wood saw. Fine teeth give a clean, square cut.
- Forgetting the foul water hygiene points. Cover cuts, and wash hands before eating.
📝 8-Question Self-Test
Straight from the Level 1 course question bank. Click an option to see whether you got it right — the explanation appears instantly, and there is nothing to submit.
A deburring tool removes the burr inside and out. Every cut end is deburred and chamfered before jointing.
Replace blunt blades rather than forcing them. Forcing a blunt blade is when it slips.
A string line marks a straight line between two points — the fall of a gutter run from the high end to the outlet. A plumb line finds true vertical.
A file cleans up a cut end and puts a slight chamfer on it, so the pipe enters a push fit socket without damaging the seal.
Replace blunt blades rather than forcing them. Keep the deburring tool sharp, and clean plastic swarf and solvent cement off tools before it sets.
Clean plastic swarf and solvent cement off tools before it sets, and store them dry.
Multipurpose saw — cutting waste pipe and guttering. Question 1 of the paper is worth six marks and wants three tools AND their uses, so the pairing is what earns them.
Plumb line — setting out a vertical line. String line — setting out a horizontal line. The plumb line hangs, so gravity gives it vertical; the string line stretches between two points, so it gives horizontal.
Going deeper: the same ground at Level 2
Level 1 gives you the shape of this. The Level 2 guides below take it considerably further — the regulations, the calculations and the detail you will need next. Free to read, same as these.
- Start here: Above Ground Drainage for Level 1 — the whole unit in one piece
- All 72 Level 1 guides — one per lesson, across all ten units
- The Level 1 glossary — 620 terms in plain English