Soldering means a naked flame and a bottle of flammable gas. Both are safe when handled properly, and this lesson is the whole of what “properly” means.
The gases used
Propane
The common bottled gas for plumbing. Burns hot enough for soldering copper, and comes in a red bottle. Propane is a liquefied petroleum gas — LPG — which means it is stored as a liquid under pressure and leaves the bottle as a vapour.
MAPP gas
Burns hotter than propane, so it solders larger sizes faster. Usually sold in small disposable cylinders, which makes it convenient for a service van.
The fact that matters most
Both gases are heavier than air.
This is the single most important thing in the lesson, because it decides everything else. A leak does not drift up and away like natural gas. It sinks and collects at low level — in a trench, in a basement, in an inspection pit, in the footwell of a van.
So the dangerous place is always the lowest place, and it can stay dangerous for a long time because there is nothing to move it. That is why every storage rule below is about keeping bottles upright, outside and ventilated.
How bottled gases and equipment are stored
- Upright — always. On its side, liquid gas can reach the valve and leave the bottle as liquid rather than vapour. Liquid coming out of a torch is a fireball rather than a flame.
- Outside — in the open air. Not indoors, not in a cellar, and not in a domestic garage.
- Well ventilated, so any small leak disperses instead of collecting.
- Secure — chained or in a cage so bottles cannot fall over, and locked so they cannot be interfered with.
In a van
Upright. Secured so it cannot roll. Valve closed. Ventilation.
And take the bottle out at the end of the day rather than leaving it in a hot van overnight. A van in the sun gets far hotter than the air outside, and pressure in the bottle rises with it.
Safe assembly of heat producing equipment
- Check the bottle is upright and secure, and the valve is closed.
- Check the sealing washer in the regulator is present and in good condition. A missing or perished washer is a leak at the highest-pressure point in the whole set-up.
- Fit the regulator to the bottle and tighten it. Note that gas fittings are often left hand thread, so they tighten anticlockwise. This is deliberate — it stops a gas fitting being connected to something that is not meant to carry gas.
- Fit the flashback arrestor.
- Connect the hose, secured with proper clips at both ends.
- Fit the torch and nozzle.
- Open the bottle valve slowly and test for leaks with leak detection fluid — never a flame.
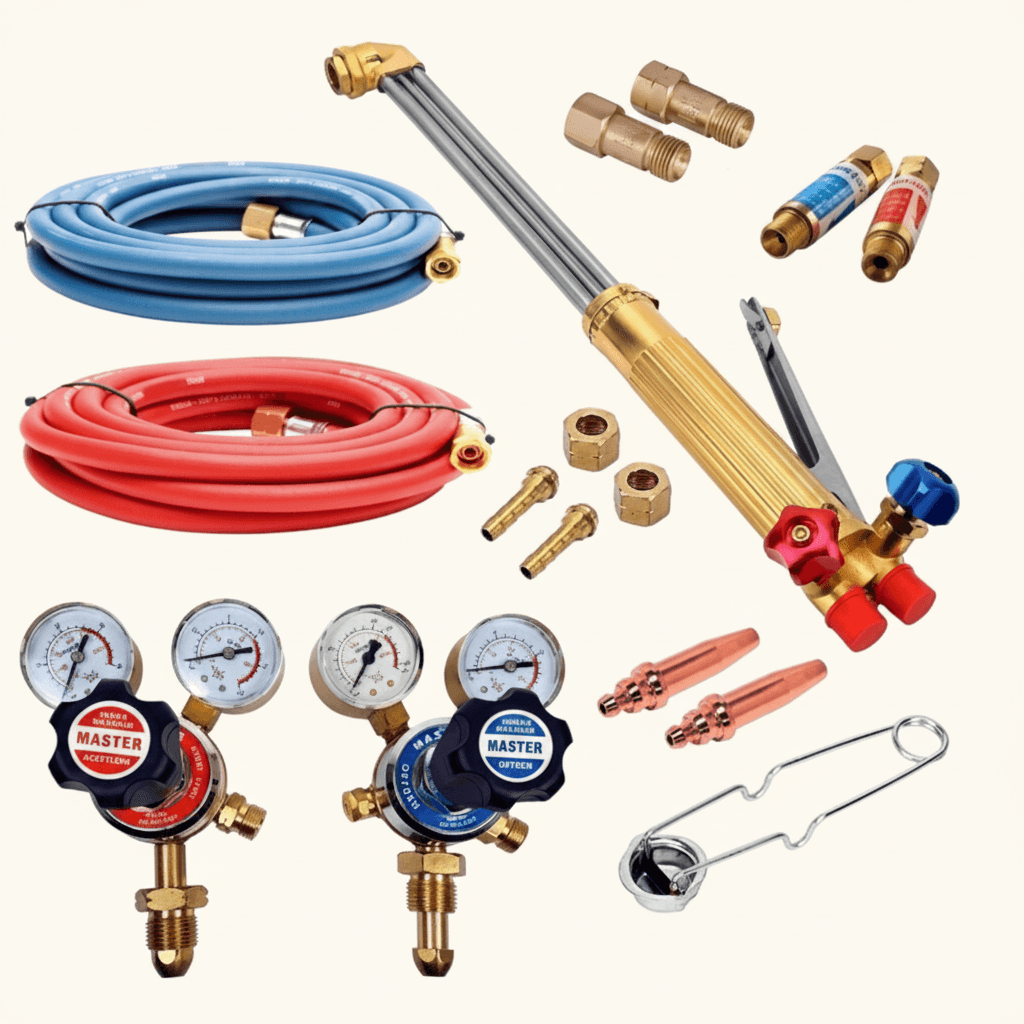
The parts, and what each does

- Pressure regulator — reduces the high pressure in the bottle to a steady working pressure at the torch. Without it the flame would change as the bottle emptied.
- Flashback arrestor — stops a flame travelling back down the hose towards the bottle. A flashback is exactly what it sounds like, and the arrestor is the part that stops it becoming an explosion.
- Hose — carries the gas. Must be the correct type, undamaged, and clipped at both ends.
- Blowtorch and nozzle — where the gas burns. Nozzle size is matched to the pipe size: too small and the joint never reaches temperature, too big and you overheat everything round it.
Visual inspection before use
Every time, before you light it:
- Bottle — damage, rust, in date, upright and secure.
- Regulator — sound, correct type, washer in place.
- Hose — no cuts, cracks, splits, burns or perished sections; clips tight at both ends.
- Flashback arrestor — fitted and in date.
- Torch — clean nozzle, working trigger or valve, no gas escaping when closed.
- Then a leak test with leak detection fluid, and a fire extinguisher within reach.
Burns on a hose are worth a second look. A hose that has been lain across by a hot torch is damaged even where it still looks whole, and it is the part of the set-up most likely to fail.
Three things never to do
- Never test for a gas leak with a flame. Leak detection fluid bubbles where gas escapes, costs almost nothing and cannot go wrong.
- Never use a damaged hose “just for this job”. A hose that splits under pressure releases gas at the torch end, next to the flame.
- Never lay a lit torch down on its side. It rolls, and the flame ends up pointing at something you did not choose.
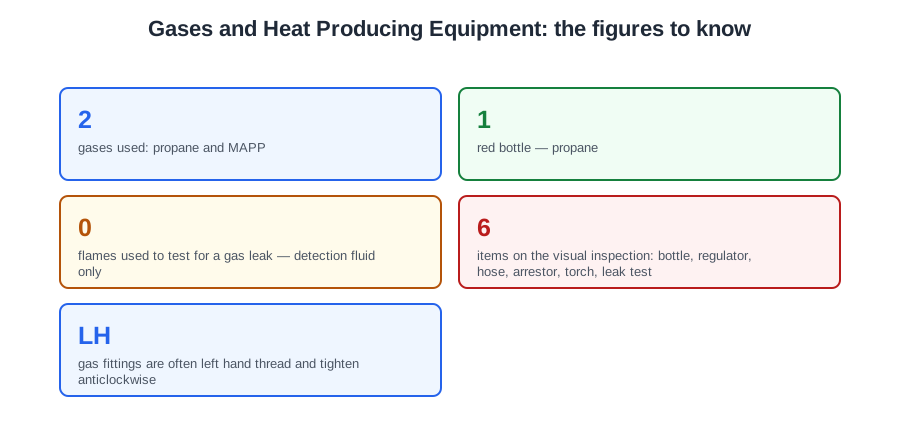
🔢 The numbers worth memorising
- 2
- gases used: propane and MAPP
- 1
- red bottle — propane
- 0
- flames used to test for a gas leak — detection fluid only
- 6
- items on the visual inspection: bottle, regulator, hose, arrestor, torch, leak test
- LH
- gas fittings are often left hand thread and tighten anticlockwise
⚠️ Where people go wrong
- Thinking a propane leak rises. Both propane and MAPP are heavier than air and collect at low level.
- Laying a bottle on its side. Liquid can then reach the valve and leave the bottle as liquid.
- Tightening a gas fitting clockwise. Many are left hand thread.
- Leaving off the flashback arrestor. It is what stops a flame travelling back to the bottle.
- Testing for a leak with a flame. Use leak detection fluid.
📝 8-Question Self-Test
Straight from the Level 1 course question bank. Click an option to see whether you got it right — the explanation appears instantly, and there is nothing to submit.
Propane and MAPP are the gases named in the standard. MAPP burns hotter than propane.
Upright, outside, well ventilated and secure. On its side, liquid gas can reach the valve.
MAPP gas burns hotter than propane, so it solders larger sizes faster. It usually comes in small disposable cylinders.
Both are heavier than air, so a leak sinks and collects in a trench, a basement or the bottom of a van rather than drifting away.
Upright always, outside in the open air, well ventilated so a small leak disperses, and secure so bottles cannot fall over or be interfered with.
On its side, liquid gas can reach the valve and leave the bottle as liquid rather than vapour.
The flashback arrestor stops a flame travelling back down the hose towards the bottle. The regulator reduces the pressure.
Leak detection fluid bubbles where gas escapes. Never test with a flame.
Going deeper: the same ground at Level 2
Level 1 gives you the shape of this. The Level 2 guides below take it considerably further — the regulations, the calculations and the detail you will need next. Free to read, same as these.
- Start here: Copper Pipework for Level 1 — the whole unit in one piece
- All 72 Level 1 guides — one per lesson, across all ten units
- The Level 1 glossary — 620 terms in plain English