Five tools do nearly all the copper work at Level 1. Each has one way it is misused, and each of those shows up in the finished joint.
The tools
Pipe cutter
Cutting copper tube square. It rolls round the pipe, tightening a little each turn until the wheel cuts through.
It leaves a burr on the inside, which must be removed. The cutting wheel does not remove material — it displaces it, pushing a ridge of copper inward into the bore. That ridge restricts the flow and creates turbulence, which over years erodes the pipe from the inside.
Most cutters have a pointed reamer folded into the body for exactly this.
Scissor bender
Bending 15 mm and 22 mm copper by hand.
The important word is supporting. The former holds the outside of the bend and the guide holds the inside, so the pipe keeps its round shape instead of flattening or kinking. Bend copper without support and the wall collapses.
Bending is worth doing where you can: a bend is one continuous piece of pipe, so it is one fewer joint to leak.
Junior hacksaw
Cutting where a pipe cutter will not fit — against a wall, in a floor void, in a corner.
Harder to keep square, so the end usually needs filing afterwards. Anything cut with a hacksaw should be checked against the fitting before it is jointed.
Blowtorch
Heating a capillary joint until the solder runs. See the gases lesson for everything about the bottle, hose and assembly.
Adjustable spanner
Tightening compression fittings.
Two are better than one — one to hold the body of the fitting, one to turn the nut. Using one spanner means the whole fitting turns, which twists the pipework behind it and can loosen the joint at the other end.
Safety requirements
- Correct use of tools. A pipe cutter is tightened a quarter turn at a time, not forced round in one go — forcing it crushes the pipe out of round, and an oval pipe will not seal in any fitting.
- Tools maintained in good condition.
- Appropriate PPE — eye protection, and gloves for hot pipework.
That last point deserves emphasis: copper stays hot long after the flame has gone. Copper is an excellent conductor of heat, which is why it solders so well and why it burns you twenty minutes later. If you did not watch it cool, assume it is hot.
Basic maintenance
- Pipe cutter — replace the cutting wheel when it stops cutting cleanly; keep the rollers clean and the slide oiled. A blunt wheel needs more force, and more force means a crushed pipe.
- Bender — keep the formers clean and undamaged. A dented former puts a dent in every bend you make, on every job, until somebody notices.
- Hacksaw — replace blunt blades, and fit them with the teeth facing forward. A hacksaw cuts on the push stroke; a blade in backwards will rub rather than cut and you will assume the blade is blunt.
- Blowtorch — keep the nozzle clean, check the hose, and store it with the bottle valve closed.
- Spanner — keep the jaws clean and the adjuster free. Worn jaws round off nuts, and a rounded compression nut has to be cut off.
🔢 The numbers worth memorising
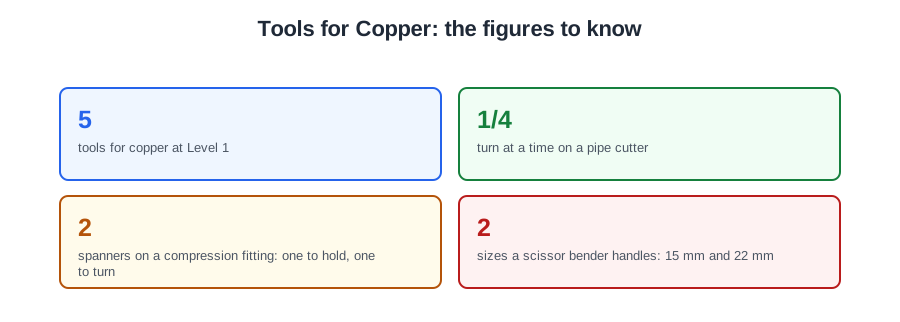
- 5
- tools for copper at Level 1
- 1/4
- turn at a time on a pipe cutter
- 2
- spanners on a compression fitting: one to hold, one to turn
- 2
- sizes a scissor bender handles: 15 mm and 22 mm
⚠️ Where people go wrong
- Forcing a pipe cutter round. A quarter turn at a time, or the pipe goes oval.
- Forgetting the internal burr. The cutter displaces copper into the bore rather than removing it.
- Bending copper without support. It flattens or kinks.
- Using one spanner on a compression fitting. The whole fitting turns and twists the pipework.
- Fitting a hacksaw blade backwards. It cuts on the push stroke, so the teeth face forward.
📝 8-Question Self-Test
Straight from the Level 1 course question bank. Click an option to see whether you got it right — the explanation appears instantly, and there is nothing to submit.
A scissor bender supports the pipe as it bends so it does not flatten or kink.
Replace the cutting wheel when it stops cutting cleanly, and keep the rollers clean and the slide oiled.
A scissor bender bends 15 mm and 22 mm copper by hand, supporting the pipe so it does not flatten or kink.
A pipe cutter cuts square but rolls a burr into the bore, which must be removed or it restricts the flow.
Replace the cutting wheel when it stops cutting cleanly, keep the rollers clean and the slide oiled.
Keep the formers clean and undamaged. A dented former puts a dent in every bend you make.
Appropriate PPE for copper work means eye protection, and gloves for hot pipework — copper stays hot long after the flame has gone.
Correct use of tools: a pipe cutter is tightened a quarter turn at a time, not forced round in one go, which crushes the pipe.
Going deeper: the same ground at Level 2
Level 1 gives you the shape of this. The Level 2 guides below take it considerably further — the regulations, the calculations and the detail you will need next. Free to read, same as these.
- Start here: Copper Pipework for Level 1 — the whole unit in one piece
- All 72 Level 1 guides — one per lesson, across all ten units
- The Level 1 glossary — 620 terms in plain English