Plastic pressure pipe is quick, which is exactly why steps get skipped on it. One of those steps is a part the size of a thimble, and leaving it out produces a joint that holds fine today and blows apart in a month.
What it is for
Plastic pressure pipe comes in the same sizes as copper — 15 mm and 22 mm — so the two systems connect straight to each other. The fittings are the same shapes too: elbows, tees, couplings, reducers and tap connectors.
Where it wins: it is quick, it needs no flame, it bends round corners so a run needs fewer joints, and it tolerates freezing better than copper.
Where it does not: it must not be used where it will be exposed to sunlight over time, it cannot go near a boiler or a flue where it would get hot, and it will not support itself — so it needs far more clipping.
Two ways to join it
Push fit — the pipe pushes into a fitting containing an O-ring to seal and a grab ring to hold. No tools, and it can be released with a demounting tool.
Compression — a nut and an olive, as on copper.
The insert
Here is the part people leave out.
A push fit fitting grips the pipe with a grab ring. That works perfectly on copper, which is rigid. Plastic is flexible, so under that grip the pipe end would squash slightly instead of staying round — and a pipe that is not round does not seal against an O-ring.
A pipe insert — also called a support sleeve — is a short metal or plastic tube that pushes inside the pipe end to hold it round and rigid.
Every joint in plastic pressure pipe needs one. There is no size and no situation where it is optional. Leave it out and the joint often holds at first and then leaks weeks later, or blows apart under pressure — which is the worst of both worlds, because by then the wall is closed up.
Making the joint
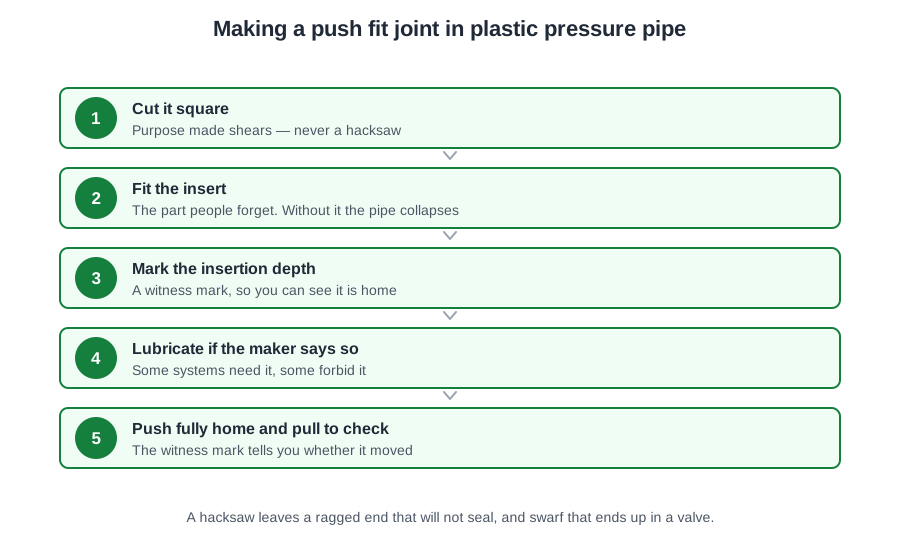
- Cut the pipe square with a pipe slice.
- Check the end is clean, round and undamaged — a scored end cuts the O-ring as it goes past.
- Push the insert fully in.
- Mark the insertion depth on the pipe. You cannot see how far it has gone once it is in the fitting.
- Push fully home to the mark.
- Tug it to check the grab ring has taken hold.
Clipping
This is where plastic differs most from copper, and the numbers are startling.
- 15 mm — 0.3 m horizontal, 0.5 m vertical.
- 22 mm — 0.5 m horizontal, 0.8 m vertical.
Compare that with copper, which is 1.2 m horizontally on 15 mm. Plastic needs roughly four times as many clips, because it is flexible and will sag into a dip between supports.
Two more support rules. Plastic expands more than copper when it warms up, so on a long hot run leave a gentle snake in the pipe rather than pulling it dead straight, giving it somewhere to go. And support at every fitting and appliance connection, so the weight of the pipe is never hanging on a joint.
🔢 The numbers worth memorising
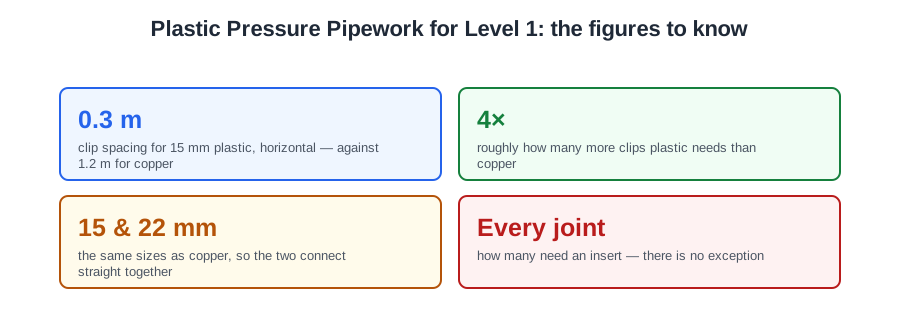
- 0.3 m
- clip spacing for 15 mm plastic, horizontal — against 1.2 m for copper
- 4×
- roughly how many more clips plastic needs than copper
- 15 & 22 mm
- the same sizes as copper, so the two connect straight together
- Every joint
- how many need an insert — there is no exception
⚠️ Where people go wrong
- Every joint needs an insert. Not just the first one, not just the big ones. Every one.
- A missing insert does not fail today. It fails weeks later, after the wall is closed up.
- Plastic must not be left in sunlight, and must not go near a boiler or flue.
- Do not pull a long hot run dead straight. Leave a gentle snake so it has room to expand.
- Mark the insertion depth. Once the pipe is in the fitting you cannot see how far it went.
📝 8-Question Self-Test
Straight from the Level 1 course question bank. Click an option to see whether you got it right — the explanation appears instantly, and there is nothing to submit.
A pipe slice cuts the pipe square in one action. A hacksaw leaves a ragged end and swarf inside.
A blunt cutter crushes the pipe oval, and an oval pipe end will not seal against the O-ring.
Replace the blade when it stops cutting cleanly, and keep the jaws free of plastic shavings.
A pipe slice cuts the pipe square in one action, and a square cut matters because the pipe end has to seat evenly against the O-ring.
A hacksaw leaves a ragged end and swarf inside the pipe, and both end up in the seal.
Tools maintained in good condition: a blunt cutter crushes the pipe oval instead of cutting it, and an oval pipe will not seal.
Correct use of tools: the cutter is closed steadily rather than snatched.
Replace the blade when the cut stops being clean. Keep the jaws free of plastic shavings.
Going deeper: the same ground at Level 2
Level 1 gives you the shape of this. The Level 2 guides below take it considerably further — the regulations, the calculations and the detail you will need next. Free to read, same as these.
- All 72 Level 1 guides — one per lesson, across all ten units
- The Level 1 glossary — 620 terms in plain English