One small part decides whether a plastic joint holds. Leave the insert out and the joint may seem fine on the day and let go weeks later, inside a wall.
The fittings
The same shapes as copper, which makes this easy: elbows, tees, couplings, reducers and tap connectors, plus compression type A fittings.
Because the sizes match copper too, the two systems connect straight to each other — so a plastic run can pick up on existing copper without an adaptor.
The two methods of joining
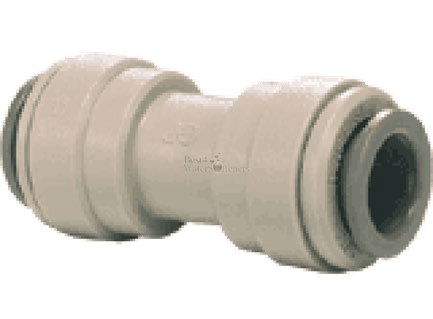
Push fit
The pipe pushes into a fitting containing an O-ring to seal and a grab ring to hold. No tools at all.
And it can be released with a demounting tool — a small collar that presses the grab ring open so the pipe comes out. That is worth knowing, because it means a push fit joint is not permanent and a run can be altered later.
Compression
A nut and an olive, as on copper.
The insert — the part people forget
This is the whole reason this lesson exists.
Plastic pipe is flexible. That is its great advantage — it goes round corners — and it is a problem at the joint, because when a fitting grips a flexible pipe, the pipe squashes slightly out of round. Out of round means the O-ring no longer has an even surface to seal against.
A pipe insert — also called a support sleeve — is a short metal or plastic tube that pushes inside the pipe end and holds it round and rigid from the inside, so the fitting has something solid to grip.
Every joint in plastic pressure pipe needs an insert. Not most. Every one, push fit and compression alike.
What happens if you leave it out
Two failure modes, and neither is immediate, which is exactly what makes this worth hammering:
- The joint holds at first and leaks weeks later, as the plastic slowly creeps under the grip of the fitting.
- Or it blows apart under pressure — the pipe deforms enough for the grab ring to lose its bite and the pipe pulls out.
Both happen after the plasterer has been. That is why this is the single most repeated instruction on this material.
Making the joint
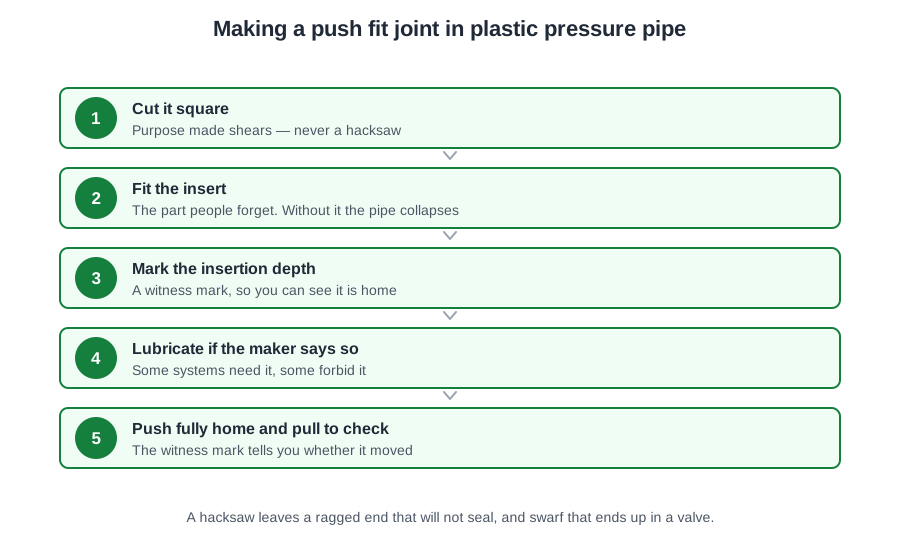
- Cut the pipe square with a pipe slice.
- Check the end is clean, round and undamaged.
- Push the insert fully into the pipe end.
- Mark the insertion depth on the pipe.
- Push fully home to the mark, and tug to check it has gripped.
The mark and the tug are both there for the same reason: a push fit joint that is nearly home looks identical to one that is home. The mark tells you before you pressurise it, and the tug confirms the grab ring has bitten.
Where plastic is better than copper
- Quick, and needs no flame — so no fire risk, no hot works, no waiting.
- Bends round corners, so a run needs fewer joints. Every joint is a potential leak, so fewer joints is a real advantage rather than just a faster one.
- Tolerates freezing better than copper. It can expand a little as ice forms rather than splitting outright.
Where it is not
- It must not be exposed to sunlight over time. Ultraviolet light breaks the plastic down and makes it brittle, so it is not used outdoors on show or anywhere daylight reaches it for years.
- It cannot go near a boiler or a flue, where it would get hot. There is a minimum distance in every boiler’s instructions — usually the first stretch of pipe off the appliance has to be copper.
- It will not support itself, so it needs far more clipping than copper. See the next lesson for how much more.
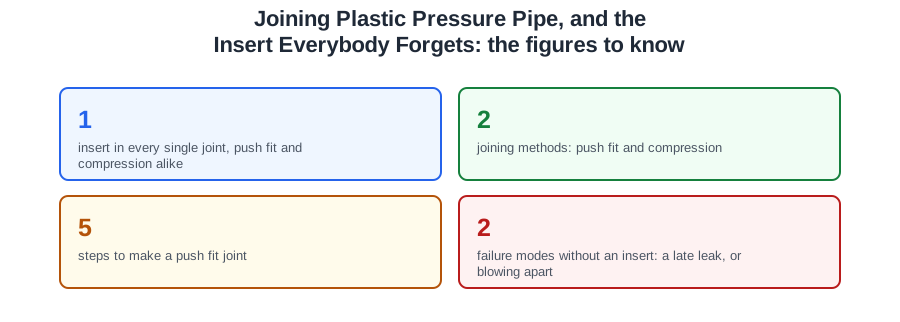
🔢 The numbers worth memorising
- 1
- insert in every single joint, push fit and compression alike
- 2
- joining methods: push fit and compression
- 5
- steps to make a push fit joint
- 2
- failure modes without an insert: a late leak, or blowing apart
⚠️ Where people go wrong
- Leaving out the insert. The joint may hold at first and fail weeks later.
- Assuming inserts are only for push fit. Compression joints need them too.
- Skipping the insertion depth mark. A nearly home joint looks the same as a finished one.
- Running plastic in sunlight. Ultraviolet light makes it brittle.
- Taking plastic right up to a boiler or flue. The first stretch is normally copper.
📝 8-Question Self-Test
Straight from the Level 1 course question bank. Click an option to see whether you got it right — the explanation appears instantly, and there is nothing to submit.
Elbows, tees, couplings, reducers and tap connectors, in compression type A. The same family of shapes as copper, so if you know what an elbow and a tee do in one material you know it in the other.
Elbows turn a corner, tees take a branch, reducers step one size down to another. Couplings join two lengths in line, and tap connectors compression type A join the pipe to the tail of a tap.
Couplings join two lengths of pipe in line. Tap connectors, in compression type A, join the pipe to the threaded tail of a tap or a valve. Type A is the pattern used for plastic.
Plastic pipe is flexible. Without a rigid sleeve holding the bore open, the grab ring squeezes it out of round and the O-ring never seals properly. The insert is not optional, and leaving it out is the single most common omission on site.
A pipe insert holds the flexible pipe round and rigid so the fitting can grip it properly.
Push fit — an O-ring to seal and a grab ring to hold — and compression, using a nut and olive as on copper.
A push fit joint can be released with a demounting tool.
Push fit and compression. Push fit uses a grab ring and an O-ring; compression uses a nut and an olive in a type A fitting. Both need the pipe cut square and an insert in the end.
Going deeper: the same ground at Level 2
Level 1 gives you the shape of this. The Level 2 guides below take it considerably further — the regulations, the calculations and the detail you will need next. Free to read, same as these.
- Start here: Plastic Pressure Pipework for Level 1 — the whole unit in one piece
- All 72 Level 1 guides — one per lesson, across all ten units
- The Level 1 glossary — 620 terms in plain English