Three methods, and the choice between them comes down to one question: will anybody ever need to take this apart?
Solvent weld
A cement that softens both surfaces so they fuse into one piece as it sets. It is not a glue sticking two things together — it chemically welds them, which is why the joint is as strong as the pipe.
It is the strongest and neatest joint and takes the least space, so it is used where the pipe is buried in a wall or boxed in and will never be taken apart.
The procedure
- Cut square, deburr and chamfer the end.
- Dry fit, and mark the insertion depth — a pencil line round the pipe at the socket mouth, so you can see it has gone fully home when the cement is on and there is no time to check.
- Clean both surfaces with the cleaner. The cleaner removes grease and the release agent left from manufacture, and starts softening the surface. Skipping it is the most common cause of a failed solvent joint.
- Apply cement evenly to both surfaces.
- Push fully home with a slight twist, and hold for a few seconds. The twist spreads the cement; the hold is because the joint will otherwise push itself back out.
- Wipe off the excess and leave it to cure before testing.
Note that this joint is fully home, with no expansion gap — the opposite of the push fit joints in the guttering lesson. A welded joint is one piece of material, so there is nothing to slide.
The safety point
Solvent cement gives off flammable vapour, so keep it away from naked flames and work with ventilation.
Both halves matter to a plumber. You may well be soldering elsewhere on the same job, and you are usually using the cement in a cupboard under a sink, which is about the least ventilated place in the house.
Push fit
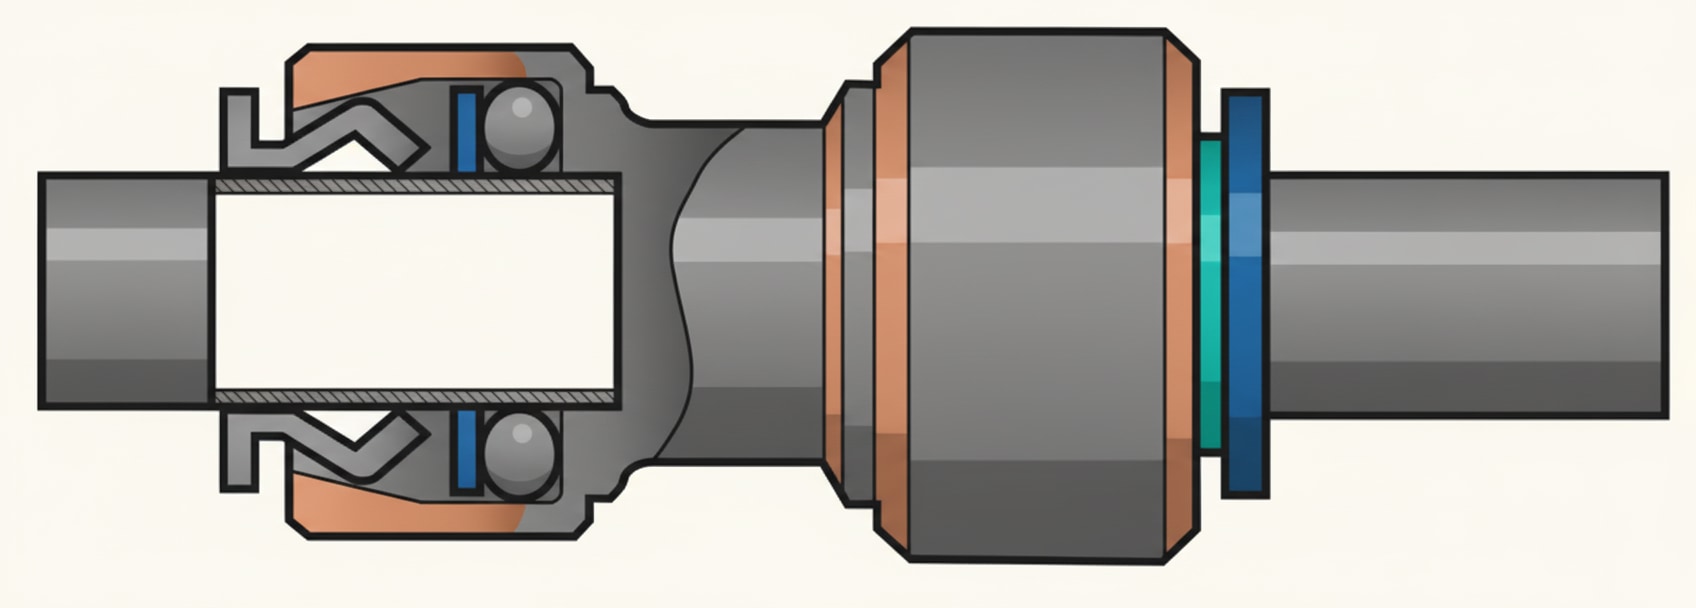
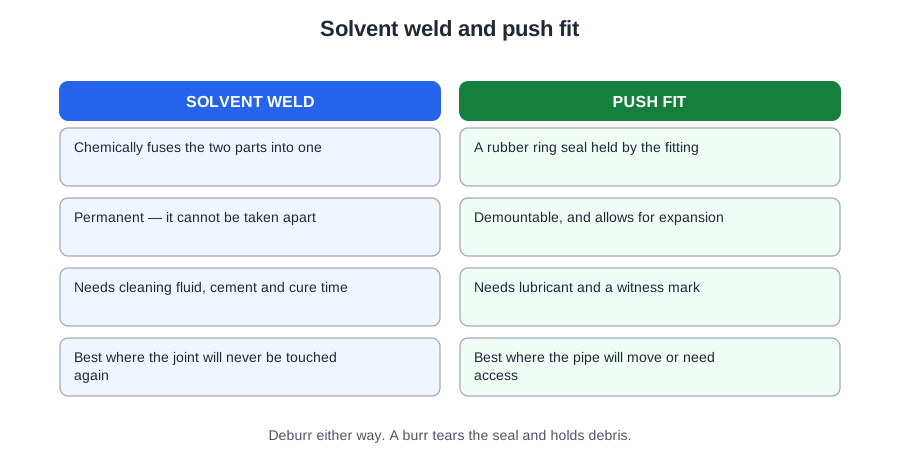
A rubber seal inside the socket grips the pipe. Quick, needs no cement, and — the point of it — can be taken apart.
So it is the right choice where you may need access: under a bath, behind an appliance, anywhere somebody will one day be clearing a blockage.
It has a second advantage: it allows the pipe to move slightly in the socket, which handles expansion on a long run. Same principle as the guttering.
Lubricate the pipe end with silicone lubricant — never oil or grease, which attack the rubber and destroy the seal within a year or two.
Compression
A nut tightens a seal onto the pipe. Used on traps and appliance connections, because it can be undone and remade easily and repeatedly.
Hand tight plus a little is usually enough. Overtightening a plastic compression nut distorts or splits it — and a split nut does not announce itself, it just weeps slowly into the cupboard floor.
This is the joint apprentices overtighten, because on copper compression you use a spanner and on plastic you mostly should not.
Choosing between them
| Method | Best for | Comes apart? |
|---|---|---|
| Solvent weld | Concealed pipework, permanent runs | No |
| Push fit | Where access may be needed, long runs that expand | Yes |
| Compression | Traps and appliance connections | Yes |
The question to ask on site
Will anybody ever need to take this apart?
If the answer is no — it is going in a wall, in a floor, behind boxing that gets tiled — solvent weld it. If the answer is yes, or even maybe, use push fit and be thanked for it.
A solvent welded joint under a bath is the definition of a decision made by whoever was quickest that afternoon.
🔢 The numbers worth memorising
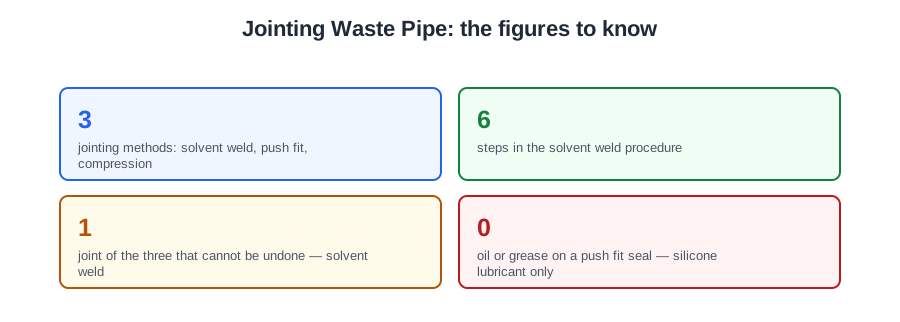
- 3
- jointing methods: solvent weld, push fit, compression
- 6
- steps in the solvent weld procedure
- 1
- joint of the three that cannot be undone — solvent weld
- 0
- oil or grease on a push fit seal — silicone lubricant only
⚠️ Where people go wrong
- Skipping the cleaner before cementing. It is the most common cause of a failed solvent joint.
- Using oil or grease on a push fit seal. It attacks the rubber — use silicone lubricant.
- Overtightening a plastic compression nut. Hand tight plus a little, or it splits.
- Solvent welding somewhere that will need access, such as under a bath.
- Using solvent cement near a naked flame or in an unventilated cupboard.
📝 8-Question Self-Test
Straight from the Level 1 course question bank. Click an option to see whether you got it right — the explanation appears instantly, and there is nothing to submit.
Solvent weld is strongest and neatest and takes least room, so it suits pipe that will never be taken apart.
Solvent weld fuses the surfaces into one piece. It is the strongest and neatest joint and takes the least space, so it suits concealed and permanent runs.
Lubricate with silicone lubricant, never oil or grease, which attacks the rubber seal.
Push fit, solvent weld, compression — three marks on the paper for listing them. Push fit where it may be dismantled, solvent weld where it is buried or boxed in, compression at the appliance where a human will one day want to undo it.
The cement dissolves the surface of both pipe and fitting, they flow together, and when the solvent evaporates it is one piece of plastic. That is why it is called welding, and why the joint is stronger than the pipe.
Push to the stop, then pull back about 10 mm. That gap is the expansion allowance — the same idea as the gap at a gutter joint. A solvent welded run has no such allowance, which is why a long one needs an expansion coupling.
Solvent weld fuses the pipe and fitting into one piece, so there is nothing to work loose behind a boxing that nobody can reach. Compression belongs at the appliance, where a human will one day want to undo it.
A push fit joint carries its own allowance — pushed to the stop, then pulled back 10 mm. A solvent welded joint is one piece of plastic with no gap anywhere, so the allowance has to be a fitting.
Going deeper: the same ground at Level 2
Level 1 gives you the shape of this. The Level 2 guides below take it considerably further — the regulations, the calculations and the detail you will need next. Free to read, same as these.
- Start here: Above Ground Drainage for Level 1 — the whole unit in one piece
- All 72 Level 1 guides — one per lesson, across all ten units
- The Level 1 glossary — 620 terms in plain English