Lifting a floorboard badly splits it, and a split board has to be replaced in a room where the rest are forty years old. Doing it properly takes two minutes longer.
The short answer
Five steps to lifting a board: locate the joists, set the saw to the board thickness exactly, cut over the centre of a joist, cut the tongue if it is tongued and grooved, lever it up evenly.
Set the saw deeper than the board and you cut what is underneath it, which is pipes and cables.
Square edge and tongued and grooved are two different jobs
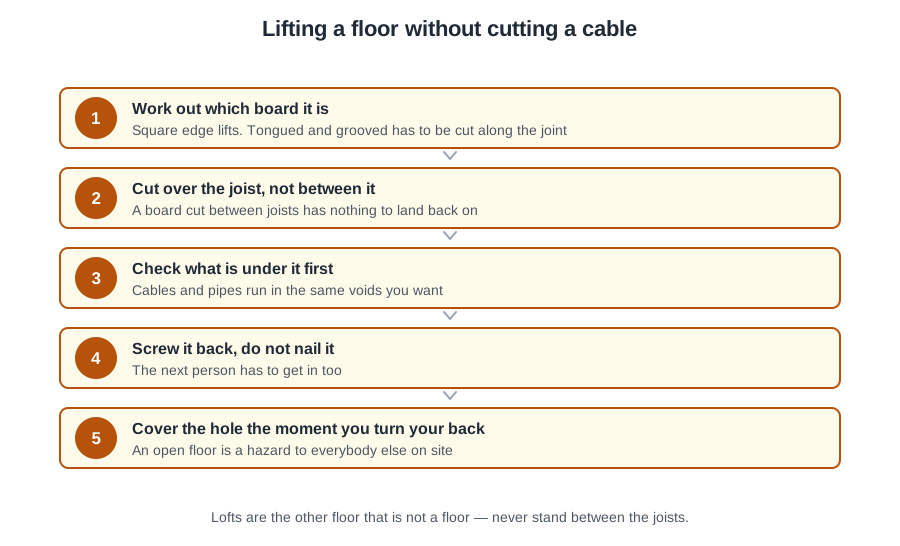
A square edge board lifts on its own. Get a bolster in the gap, work along it, up it comes.
A tongued and grooved board is locked to its neighbours by a tongue running the full length. Lever it and you do not lift one board — you split two, because the tongue takes the load and the tongue is the thinnest part of both boards. So the tongue gets cut first, along both edges, with a circular saw set to the exact board thickness or with a purpose made floorboard saw.
Modern houses are mostly chipboard flooring in 600 mm wide sheets, also tongued and grooved, and it behaves differently again: it has no grain, it crumbles at a cut edge, and it swells permanently if it gets wet. A chipboard floor that has had a leak under it never goes flat again.
Cut over the joist, not between it
The instinct is to cut in the middle of the span where there is nothing behind the board. That leaves you with a board end hanging over a void with nothing to screw it back down to, and a floor that flexes and creaks for the rest of its life.
Cut over the centre of a joist and both the piece you lift and the piece you leave have half a joist to sit on. If you have to cut between joists, a batten screwed to the side of the joist gives the cut end something to land on.
Screws, not nails
Nails go back in fast and are the wrong answer. Screws let the next person lift the board without destroying it, they pull the board down tight so it does not squeak, and they can be found again with a magnet under a carpet.
Better still, if a board is over a joint or a valve, think about whether it should become a proper access hatch — cut cleanly, battened underneath, screwed down. Someone will need to get in there again, and there is a decent chance it is you.
The open floor is a hazard the moment you turn your back
A lifted floor in an occupied house is a hole at ankle height in a room people live in. Children and pets find it immediately, and so does the customer coming in to offer you a cup of tea.
So it gets covered or barriered whenever you are not standing over it, and it never gets left open at the end of the day. The same applies to the tools and the offcuts around it — a board with nails sticking up out of it, lying face up, is one of the most common injuries on a domestic job.
Lofts: the other floor that is not a floor
The hazards in a loft are worth naming because they are all the same kind of hazard — a place with no proper floor, no proper light, poor access, and services running through it. The plasterboard ceiling between the joists will not hold you; it will hold you for about a second and then you go through it into the room below.
So you walk on the joists or on crawl boards, take a light in, and look for old insulating material before you kneel on it. Loft insulation also hides everything: pipes, cables, joist edges and the ceiling itself.
What comes next
Notching and drilling joists is the direct sequel — once the board is up, the numbers governing what you are allowed to cut into the timber underneath become the next thing you have to be exactly right about.
🔢 The numbers worth memorising
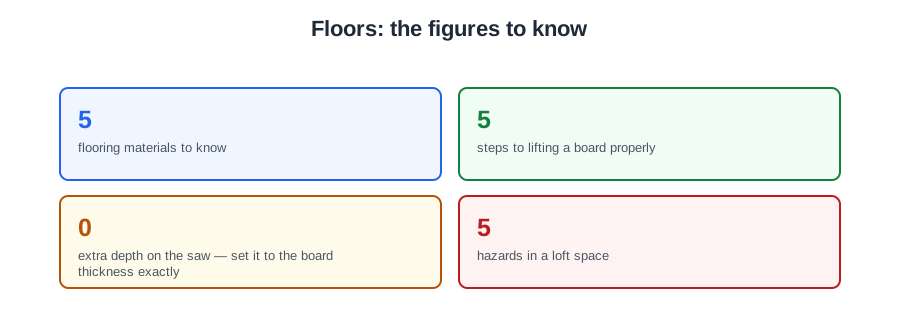
- 5
- flooring materials to know
- 5
- steps to lifting a board properly
- 0
- extra depth on the saw — set it to the board thickness exactly
- 5
- hazards in a loft space
⚠️ Where people go wrong
- Levering a tongued and grooved board without cutting the tongue. It splits both boards.
- Setting the saw deeper than the board. That is how pipes and cables get cut.
- Cutting across a board between joists. Cut over the centre of a joist so both ends are supported.
- Leaving an open floor unattended in an occupied house.
- Nailing boards back down. Screws let the next person lift them, and they do not squeak.
📝 8-Question Self-Test
Straight from the Level 1 course question bank. Click an option to see whether you got it right — the explanation appears instantly, and there is nothing to submit.
Cut over the centre of a joist so both the piece you lift and the piece left behind still have something to sit on.
Wooden floorboards are usually tongued and grooved, and the tongue has to be cut before a board will lift.
Vinyl floor coverings are often stuck down and rarely go back looking the same, so warn the customer first.
Chipboard comes in large sheets, usually tongued and grooved and often glued. Cut over the joists to lift a section.
Cut across over the centre of a joist, so both the piece you lift and the piece left behind still have something to sit on. Cut between joists and both ends hang in mid air, so the board rocks and creaks when it is walked on.
Screw rather than nail, so the board can be lifted next time and does not squeak. Mark the floor where the pipes run.
Solid or concrete, and wooden, chipboard or sheet flooring. The difference matters more to a plumber than to anyone else: one of them you can get under, the other you cannot.
There is no void underneath and you cannot lift it, so the pipework goes into a chase cut in the floor or is run above floor level instead.
Going deeper: the same ground at Level 2
Level 1 gives you the shape of this. The Level 2 guides below take it considerably further — the regulations, the calculations and the detail you will need next. Free to read, same as these.
- Start here: Site Preparation for Level 1 Plumbers — the whole unit in one piece
- All 72 Level 1 guides — one per lesson, across all ten units
- The Level 1 glossary — 620 terms in plain English