Installation is the module about decisions you cannot revisit. A flashing lapped the wrong way is under three courses of tile. Insulation of the wrong grade is discovered when it has already melted. A sensor in the wrong pocket produces a system that never works and in which nothing tests faulty.
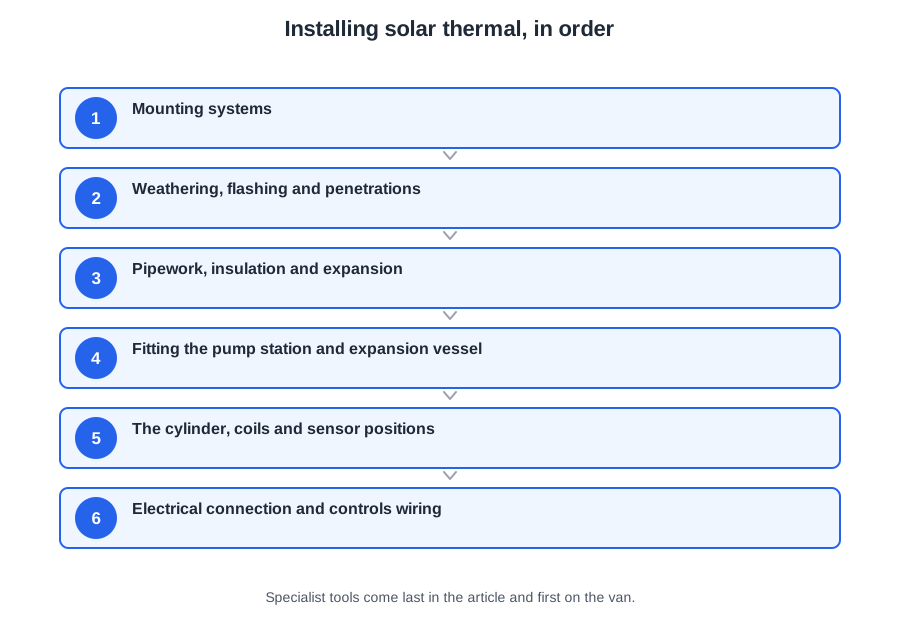
This article covers Module 5 of the PlumbMate solar thermal course: mounting systems and what a certified kit actually certifies, weathering and penetrations, pipework and insulation, fitting the pump station and expansion vessel, the cylinder and its sensor positions, and the electrical connection. There is a 10-question mock test at the end.
Mounting systems
- On-roof — brackets pass through the covering to the structure and the collector sits proud of the tiles. Simple, and easy to revisit.
- In-roof — an area of covering is removed and the collector is weathered into the roof with a proprietary flashing kit. Lower profile and better looking, but the collector becomes part of the weathering.
- Flat roof — a frame, restrained by ballast, mechanical fixing or a hybrid of the two.
- Ground mounted — where roof area or orientation will not serve.
Fix it as the kit says
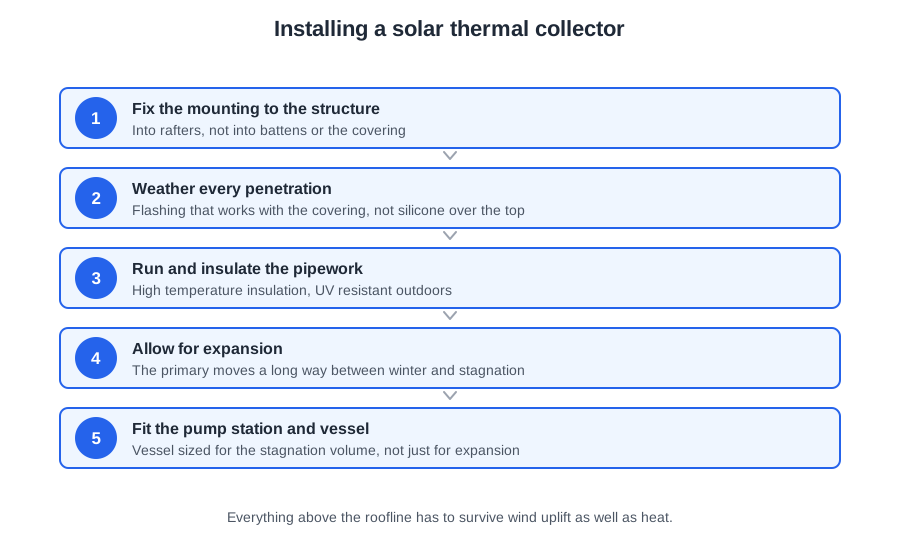
An MCS 012 certified mounting and flashing kit carries declared wind uplift resistance and weathertightness — but only when installed within the limitations of its certificate. Change the bracket spacing, the pitch or the fixing type and the declared performance no longer applies to what is on the roof.
That includes the fixing torque. The declared figure is a test result obtained with the fixings tightened to a specified value; guessing it, under or over, means the certificate no longer describes the installation. It is the reason a torque tool belongs in the van.
The extra batten
On a lap roof it is sometimes necessary to fit an additional batten at the lower edge of the collector, lifting the tiles slightly so they sit correctly in line with the flashing. A small detail that decides whether the interface sheds water or collects it.
Flat roofs and load
Before any ballast goes on, confirm the maximum allowable roof loading and compare it against the total imposed load — collectors, frame, ballast and access loads. Spread the load with rails or pads, protect the membrane, and avoid point loading anywhere.
Weathering, flashing and penetrations
Dressing the flashing
The same principle as any lap covering: the flashing goes under the tiles above and over the tiles below, so water arriving from above runs onto it and discharges onto the covering. Reverse it at the head and you have built a channel directing water into the roof.
Sealant is not a substitute and will fail. It is a gap filler, not a weathering detail, and it has a service life measured against a roof's in single figures.
Pipe penetrations
Sleeve the pipe so it can move with thermal expansion without abrading against the masonry and is not bonded into the structure — and remember a solar primary moves more than most, swinging from ambient to stagnation temperature. Then make good and weatherproof with a proprietary detail.
Expanding foam is not a weatherproof finish. It degrades under UV, it protects the pipe from nothing, and it is the single most common thing found stuffed into a solar penetration.
Three questions at every penetration
- Structure (Part A) — has forming the opening weakened anything?
- Fire (Part B) — has a compartment been breached, and does the penetration need proprietary fire stopping?
- Weather (Part C) — can water track in along the pipe or through the hole?
Drainage
A mounting system must not obstruct roof drainage or create standing water. Roofs are designed to shed water, not hold it, and ponding attacks details that cope perfectly well with water running past them.
Pipework, insulation and expansion
Materials and jointing
Copper for most of the run — excellent conductivity and durability, used with high-temperature insulation. Stainless steel corrugated flexible tube is common for collector connections and roof work: quick to install and tolerant of movement. Plastics generally cannot survive stagnation temperatures.
Joints are made with hemp and a high-temperature jointing compound. Not PTFE tape, which is not dependable at solar primary temperatures, and not soft solder, which cannot be relied on at stagnation.
Insulation: two separate questions
People conflate these, and they are independent.
Where it is decides the material's structure. External pipework needs closed-cell insulation, which does not absorb water and so keeps its value outdoors. Open-cell foam, fibreglass and mineral wool behave like sponges and hold water against the pipe. It also needs UV protection — sunlight breaks foam down within a season or two unless it is UV-stable or clad — and continuity, including at valves, fittings and supports. A bare valve body or a gap at a bracket is a concentrated heat loss, and outdoors a freezing point.
What it is wrapped around decides the temperature grade. Standard PVC and ordinary rubber foam soften and melt well below the temperature a solar primary reaches, so melted or slumped insulation means the wrong grade was fitted, not that it was fitted badly. The remedy is insulation rated for the temperature: high-temperature EPDM, which is closed-cell and so still suits external use, or mineral wool, which withstands far higher temperatures but absorbs water and must therefore be clad and weatherproofed outdoors.
Fall, and what belongs in the circuit
Run pipework with a consistent fall towards the collectors, driving air to the high points where it can be removed — and on a drain-back system, allowing the circuit to empty. Include isolation valves for servicing, a non-return valve against night-time reverse circulation, and air separators or vents at the high points.
Fitting the pump station and expansion vessel
Where the station goes
Somewhere with straightforward access, normally near the cylinder. Everything you will ever do to this system happens here — reading flow, checking pressure, servicing the pump, isolating for maintenance. Put it somewhere awkward and those things get skipped, which is a maintenance decision made at installation.
Expansion and relief are mandatory
The circuit swings from cold fill to stagnation, a far wider range than a heating system, so it needs an expansion vessel to accept that expansion and a pressure relief valve as the last line of defence. The PRV discharge must terminate safely and visibly: the fluid is hot glycol, and a valve quietly discharging into a hidden gully is how a system loses its pressure and its freeze protection over a summer without anybody noticing.
Sizing the vessel
Total the fluid volume of the whole loop — collectors, flow and return pipework, heat exchanger and pump station — then apply the expansion of the water and glycol mixture from cold fill up to the maximum operating temperature, and set the pressure boundaries: cold fill from static head plus a margin, and the pre-charge relative to it.
Two rules about the vessel
- Set and check the pre-charge with the system isolated and the water side depressurised to zero — otherwise system pressure holds the diaphragm against the gas and the reading means nothing. Do it before final filling.
- Fit it on the return, and leave the connecting pipework uninsulated so it acts as a cooling leg.
The cylinder, coils and sensor positions
Coils
Solar coil low, auxiliary coil above it. The solar coil meets the coldest water in the store, giving the largest temperature difference for transfer and the lowest return temperature to the collector — and low return temperature is what keeps collector efficiency up.
Sensors
The store sensor goes low, in the region the solar coil heats. Fitted at the top it reads water the boiler has already heated, the controller sees no useful difference, and the pump never runs. The collector sensor goes in the manufacturer's pocket at the flow outlet.
Cylinder materials and protection
- Stainless steel — corrosion resistant, light, long-lived, though it can suffer pitting in high-chloride areas.
- Copper — excellent heat transfer, naturally antimicrobial, but expensive.
- Glass-lined mild steel — a vitreous enamel barrier over the steel, relying on a sacrificial magnesium anode that corrodes in its place. Check and replace it typically every 2–3 years; any crack in the enamel exposes the steel beneath.
Water quality
Keep the pH between 7 and 8.5. Use softeners or inhibitors where hardness exceeds the manufacturer's limits, but avoid over-softening — that makes the water aggressive, which is its own corrosion problem.
Allow a spare coil tapping where a further heat source such as a heat pump may be added later. It costs nothing now and saves replacing the cylinder.
Electrical connection and controls wiring
The supply
Before connecting anything, confirm the existing installation is in good condition, has sufficient capacity, and provides suitable protection. The controller, pump and associated equipment are then supplied from a dedicated circuit or a clearly identified, correctly rated spur — typically 3 A — with overcurrent protection, RCD protection where required, and a local means of isolation.
A plug and socket is not appropriate for fixed equipment of this kind.
Label it
The spur must be labelled to show it supplies the solar thermal controls. An unlabelled spur is a circuit nobody can identify — which is how solar controls get switched off and forgotten for a season, or switched back on while somebody has the pump station apart.
Cabling
Sensor cables carry small signals from resistance sensors and are easily disturbed by interference from mains cabling, so keep them apart. Erratic temperature readings that make no physical sense often trace back to routing rather than a faulty sensor. Consider mechanical protection, UV exposure where any part runs outdoors, and the temperature the cable will see near the collector.
Two operational points
- Isolate the pump while filling, so it cannot run dry before the circuit is full.
- Once energised, verify the pump runs and that rotation and flow direction are correct. A pump installed backwards runs and sounds entirely normal while delivering nothing at all.
All of it to BS 7671, with Part P creating the legal duty — and full safe isolation before any cover comes off.
Specialist tools and equipment
Solar work needs more than a standard plumbing kit, and it is worth being able to say what and why:
- Access equipment — scaffold or tower, roof ladders, and edge protection appropriate to the roof and the duration.
- Lifting equipment — a hoist or a second pair of hands. Collectors are awkward rather than heavy, and getting one up a ladder alone is how people fall.
- A filling and flushing station, the only practical way to purge a sealed primary properly.
- A refractometer, for the glycol concentration and freezing point.
- Slate ripper, tile lifter and roofing tools, for lifting and replacing the covering without breaking it.
- Torque tools, where the mounting kit specifies a fixing torque.
What comes next
Module 6 is commissioning and handover: what to check before you fill, flushing and purging, cold fill pressure, proving the freeze protection, setting the differential and the flow rate, and the records the customer goes away with.
📝 10-Question Mock Test
Click an option to see whether you got it right. Explanations appear instantly — no submitting at the end.
The declared figure is a test result obtained under specified conditions. Change the bracket spacing, the pitch, the fixing type or the torque and the certificate no longer describes what is on the roof.
Water arriving from above runs onto the flashing and discharges onto the covering below. Reversed at the head, the flashing becomes a channel directing water into the roof — and sealant is a gap filler, not a substitute for correct lapping.
It is the most common thing found stuffed into a solar penetration and it is not a weathering detail. Sleeve the pipe so it can move, then make good with a proprietary weatherproof detail.
Melting is a temperature-grade failure, not a fitting fault. Standard PVC and ordinary rubber foam soften well below solar primary temperatures. Replace with something rated for the job — and rate it against the stagnation temperature, not the working one.
Open-cell foam, fibreglass and mineral wool behave like sponges and hold water against the pipe. Closed-cell is a separate question from temperature grade — the insulation has to satisfy both, and UV protection and continuity on top.
Fluid arriving straight off a collector at 180 °C would destroy the diaphragm. The bare leg takes the edge off it, and it is the one place on a solar circuit where you deliberately insulate less.
With pressure on the water side, the system holds the diaphragm against the gas and the gauge tells you nothing. Do it before final filling.
The enamel is the barrier and the anode is the insurance: it corrodes in place of the steel wherever the enamel is cracked or thin. An anode that has been consumed and never replaced leaves the steel exposed.
Both failure modes are real. A solar system switched off in October and noticed in March, or a pump energised while somebody has the station apart. A label costs nothing.
A pump installed backwards runs and sounds entirely normal while delivering nothing. It is the sort of fault that survives commissioning because everything appears to be working.
Almost every fault in this module is silent at the time. A reversed flashing sheds water perfectly until it rains from the right direction. The wrong grade of insulation looks correct until the first stagnation. A store sensor in the upper pocket produces a system where every component tests good and nothing ever happens.
Which is why the module's discipline is checking against a reason rather than against appearance: under the tiles above and over the tiles below; rated against stagnation not working temperature; low in the zone the solar coil heats.