A new system is in. The boiler is hung, the pipework is clipped, the screed is down and the customer wants heat by Friday. The temptation is to fill it and light it.
The short answer
Commissioning is the opposite of that: a planned sequence of checks, fills, tests and settings that proves the system does what the design said it would.
Ask what one item you cannot commission without and the answer is the manufacturer's instructions for the appliance and its controls. Only the manufacturer knows the start-up sequence, the settings and the checks for that unit, and working outside them can void the warranty.
And the sequence itself has a fixed shape: inspect, fill, soundness test, flush, clean, inhibit — each step depending on the state the one before it left the system in.
The documents, and the five conditions
Around the manufacturer's instructions sit:
- The Water Supply (Water Fittings) Regulations 1999, for the pressure test and backflow protection at the filling point.
- BS EN 12828 (design), BS EN 12831 (heat load), BS EN 14336 (installation and commissioning) and BS 7593 (preparation, commissioning and maintenance of the system water).
- Approved Document L with the Domestic Building Services Compliance Guide, which is named as the approved commissioning procedure for heating and hot water systems.
- The design drawings, the heat loss calculation, the emitter schedule and the specification.
You verify the job and system information first so the right procedure is used and the design efficiency is met. Commissioning a system you have not understood is guesswork with instruments in your hand.
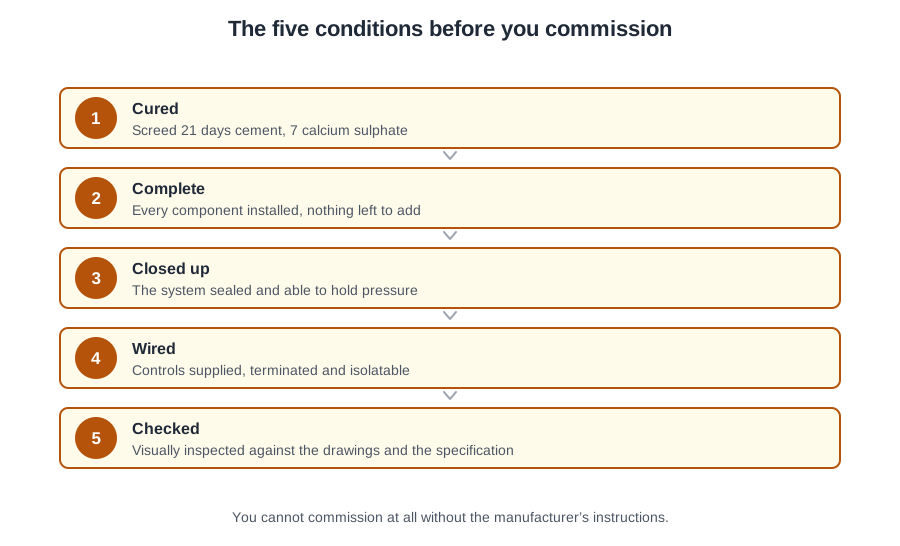
Commissioning does not begin the moment the last joint is made. Five things have to be true: the work must be cured, complete, closed up, wired and checked.
- Cured — where there is a screed it has had its time, typically 21 to 28 days; BS EN 1264-4 allows first heat-up after 21 days for cement, 7 for calcium sulphate. Never use the heating to dry a screed out.
- Complete — the building work is finished, not still going on around you.
- Closed up — external doors and windows fitted and shut, or every temperature you read is the temperature of a building site.
- Wired — the electrical installation is finished.
- Checked — that electrical work has been inspected and tested.
The walk round before the water goes in
BS EN 14336 clause 5.2 asks you to verify that all plant accords with the design, drawings, specification and instructions, that correct installation procedures were followed, and that the fuel supply and flue are right. On a domestic job:
- Fuel and electrical supplies off and secured, with warning notices at the isolation points.
- All radiator valves, air release valves and drain-off valves closed.
- All motorised valves manually opened.
- The circulating pump removed and a temporary length of pipe fitted, so installation debris cannot wreck it.
- Room and cylinder thermostats off; capillary joints soldered and compression joints tight; clips and supports complete; cisterns supported with float valves set to the right water line.
One distinction worth holding. Regulation 642.1: inspection precedes testing and is normally done with that part of the installation disconnected from the supply. An inspection verifies selection, erection, condition and access. Whether the equipment operates correctly is not an inspection item — you cannot see that with the power off. Operation is proved afterwards.
Filling and venting
The initial fill is always carried out at the system's normal operating pressure, with fluid category 1 water from the cold main. BS EN 14336 clause 5.6: fill slowly from the bottom upwards, so the air is pushed ahead of the water to the high points where it can be released.
Working in stages lets you check each section for leaks before the next is filled, and stops one airlock spoiling a whole system.
On an open vented system, fill until the cistern is full and the float valve shuts off, then check the water line leaves room for expansion. On a sealed system, fill until the gauge reaches the cold fill pressure, usually 1 bar.
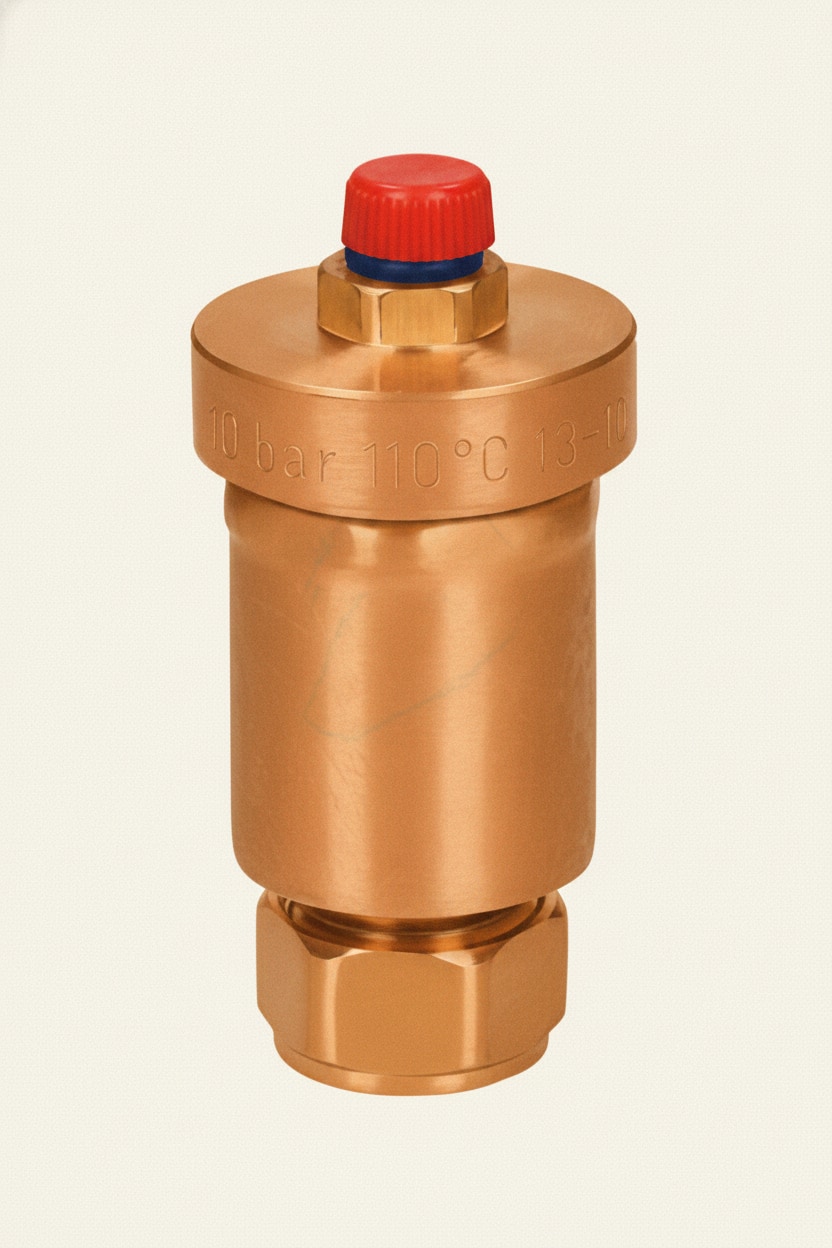
Then open and bleed the furthest radiator on the index circuit. On a sealed system that drops the pressure, so top it back up. Work back towards the boiler, filling the downstairs radiators first so air cannot be trapped in the drops, then the upstairs circuit the same way, furthest first. Do not overfill a sealed system to save time — you will simply lift the pressure relief valve.
Why the air has to come out
Air left in a heating circuit is not a nuisance, it is a fault with four consequences:
- Air blocks circulation, so emitters stay cold.
- Air cuts heat transfer, because a pocket of gas against a steel panel moves almost no heat.
- Air corrodes. BS 7593 clause 5.1 lists the ingress of air as a cause of corrosion, and the oxygen feeds the reaction that makes magnetite, the black sludge that ruins pumps and heat exchangers.
- Air makes the system noisy.
None of that shows up as a fault code. And expect to vent again after the first heat-up: dissolved air comes out of solution as the water warms, so a system that was silent cold can need bleeding hot.
Plastic pipework has to be barrier grade. Ordinary plastic pipe is permeable — BS 7593 notes that some plastic pipe allows oxygen to pass through the pipe wall into the system water, along with elastomeric seals and other permeable components. That oxygen corrodes the ferrous parts. Barrier pipe is not about pressure or temperature; it is about oxygen.
And the filling loop comes off. The main is fluid category 1, the heating primary category 3, so the loop is protected twice: a verifiable double check valve on the mains side, and physical disconnection after filling, so that no connection remains. A loop left coupled at both ends is one of the commonest contraventions found on domestic systems. Where a permanent connection is genuinely wanted, a type CA device with a pressure reducing valve is used — acceptable up to a 45 kW boiler, above which the water is category 4 and a type BA RPZ valve is needed.
Underfloor circuits and ground collectors
A buried circuit is unforgiving. There is no high point to bleed from later and no radiator to tap with a mallet. Whatever air you leave in is air you will still have in five years.
The circuits on a manifold are not the same length, and water always takes the easiest path. Open them all at once and the shortest loop fills while the longest keeps its air. So the circuits are filled and vented one at a time:
- Close the isolating valves on the flow and return manifolds.
- Connect a hose from the cold main to the flow manifold drain-off, and a second from the return manifold drain-off to a gully.
- Turn on the water and open each circuit in turn, letting it run until the water runs smoothly and the air has gone.
- Close the drain points, remove the hoses and restore the isolating valves.
Flush the mixing valve and manifold pipework through before the final fill. When the system is full and every valve is open, run the pumps for 5 minutes and check again that all the air is out.
A ground source collector is worse still: buried, with no high point at all, holding an antifreeze mixture rather than water. Opening the automatic air vent and waiting achieves nothing, and the heat pump's own circulator has nowhere near the velocity needed. The array is purged by circulating at high velocity with a powered purge rig, so the moving fluid physically sweeps the air out to the rig's tank, where it separates.
What went into the drum is not what is in the array. Concentrate gets diluted by the water already in the loops, by what stayed in the rig, and by later top-ups. So the mixture itself is measured at commissioning, with a refractometer or a hydrometer. Counting the litres added proves nothing, and no heat pump display can read the strength of the brine. Get it wrong and the collector can freeze in the ground, where you cannot reach it.
Then check and record the brine circuit pressure. Not because the pressure proves anything on the day — because a recorded figure is a baseline: two winters later, a lower reading against that record is evidence of a leak, and without the record the later reading tells you nothing at all.
Soundness testing
The moment to test is before the pipework is insulated or concealed. A weep behind lagging or under a floor is a weep nobody finds until it has done its damage, and by then the fix costs ten times the test.
The figure to remember for a newly installed heating system is 1½ times the working pressure. Schedule 2 paragraph 12(1) requires the system to withstand an internal water pressure of not less than 1½ times the maximum pressure it is designed to be subjected to, and calls that the test pressure. Paragraph 13 adds that every system must be tested, flushed and where necessary disinfected before it is first used.
Two other figures are in circulation, both right in their own document: BS EN 14336 requires at least 30 per cent above working pressure — 1.3 times — for a minimum of 2 hours; BS EN 806-4 uses 1.1 times the maximum design pressure. In an exam, the answer for a heating system is 1½ times the working pressure.
| System | Procedure |
|---|---|
| No plastic pipe | Pump to test pressure, then 1 hour without further pumping; pressure maintained; no visible leakage. |
| Plastics — Test A | Test pressure for 30 minutes, then reduce to one third; it must not drop below that over the following 90 minutes. |
| Plastics — Test B | Test pressure for 30 minutes, note it, then 150 minutes without pumping. Drop under 0.6 bar at 30 minutes, or under 0.8 bar at 150. |
Plastic pipe expands a little when pressurised, so the pressure falls even when nothing is leaking — which is why the Regulations give one test for metal and two alternatives for anything containing plastics.
Underfloor pipe is tested before the screed is laid, at not less than 4 bar and not greater than 6 bar, held for one hour. Then, crucially, the pipe is left under pressure while the screed is poured. Two things are gained at no cost: pressurised pipe is stiffer and resists being trodden flat, and if a barrow wheel does damage a loop, the gauge tells you at once. Drain it first and you throw away the only warning you would ever get.
Flushing
Every new system is dirty before it has run an hour: copper filings, plastic swarf, solder, PTFE tape, jointing compound, flux residue, the stamping oil radiators are protected with in the factory, and on an underfloor job the fine dust off a fresh screed. On an existing system add sludge, corrosion debris, limescale and bacterial growth.
A cold flush comes straight after the soundness test: the system is drained and completely emptied, carrying out most of the loose installation debris before it can foul a pump or lodge in a heat exchanger. Now the components removed for the test — the circulating pump above all — go back, and the system is refilled in the same staged way.
A hot flush follows, for the material a cold flush cannot shift: jointing compound, flux residues and oils. Before running hot, the electrical supply must be tested and on with the correct fuse, the fuel supply on, all radiator valves open and every thermostat calling for heat. Run to maximum operating temperature, switch off, isolate from both supplies so it cannot restart, and drain it down while the water is still hot — hot water carries far more of the contamination out with it.
An underfloor system gets a specific requirement, not a rule of thumb: drained and flushed three times with clean water. Three passes are what it takes to clear jointing compound, swarf and screed dust from circuits you will never be able to reach again.
The three BS 7593 methods
Clause 7.2 gives three cleaning and flushing methodologies, and one of them should be applied. It is worth knowing that a fresh water flush on its own, hot or cold, is not an adequate procedure — the standard is explicit that pumped circulation must be available throughout the system.
- Powerflushing. An external pump and tank circulate water or cleaner at increased velocity and turbulence through the whole circuit, and through each radiator isolated in turn, with the flow reversed regularly. The method for a sludged system and for a boiler change, and commonly a warranty condition.
- Mains pressure clean and flush. Cleaner circulated, preferably at operating temperature, then mains pressure water run through the circuit and each radiator in turn until clear, with a backflow prevention device to BS EN 1717 where the mains is connected.
- Gravity clean and flush. Cleaner circulated with the help of the circulating pump, then the system repeatedly drained and refilled until the water runs clear.
Preparation is the same for all three: isolate the cold water supply; mark the positions of the lockshield valves, then open every valve fully and remove the TRV heads; set diverter and zone valves to manual open; isolate sensitive components as the manufacturer directs and clean any in-line filter. For powerflushing and mains pressure cleaning on an open vented system, cap off or isolate the feed and expansion cistern and any additional open vent. If a new boiler is being fitted, do the clean before it is installed, or with it isolated.
Cleansers, neutralisers, inhibitor and the filter
A plumber fits a new boiler onto a twenty year old system, circulates a cleaner for an hour, and wonders what to do with the chemical sitting in the pipework. The answer decides whether the new heat exchanger lasts fifteen years or fifteen months.
BS 7593 clause 7.1 sets the sequence for major work: a pre-flush if needed; a chemical clean; a fresh water flush to drain; a permanent in-line filter fitted; the inhibitor added at the final fill.
So the answer is: flush the system through with fresh water to drain before adding the inhibitor. The cleaner is removed by flushing. There is no neutralising step in the standard's sequence, the cleaner is not left in behind a filter, and running it hot for a week does not remove it.
- A cleanser lifts and disperses the mineral oils left on radiators from manufacture, the flux residues from installation, and on an existing system the sludge and scale. Mineral oil attacks the rubber parts inside motorised valves and TRVs and eventually kills pumps; flux corrodes copper. Circulate for the time stated — typically about an hour with the boiler on — then drain and flush until the water runs clear.
- A neutraliser is used in one situation only: where an old system is descaled with an acid-based cleanser, the acidic water is harmful to the environment and a problem for the undertaker if it goes to drain. The neutraliser pacifies the acid; the system is then thoroughly flushed and the water tested to prove it is free of both the acid and the neutraliser, and only then is the inhibitor added.
- A corrosion inhibitor is what stays in. It minimises corrosion of the system metals, inhibits magnetite and limescale, and does so without attacking plastics and rubber. Dose it correctly or it does not work: as a guide, a 1 litre bottle treats a ten radiator system holding about 100 litres, counting one radiator as 10 litres and a double panel as two.
Where the system runs below 60 °C, as underfloor and heat pump systems do, BS 7593 clause 9 also asks you to consider a biocide, because microbiological growth thrives at those temperatures.
Clause 8 requires a permanent in-line filter — usually magnetic — to catch the residual particles that keep circulating after a clean. It is fitted on the return, before the appliance, so magnetite is caught before it reaches the heat exchanger. A filter is never a substitute for cleaning and flushing.
Why this matters more on a heat pump retrofit than a boiler swap is simple: the old system is full of magnetite, and a heat pump uses a plate heat exchanger with far narrower passages. Clean, inhibit, filter and test, or the exchanger blocks.
Finally, clause 10: check the additive concentration after commissioning and annually thereafter, service the filter at the same time, and re-dose at five year intervals unless a laboratory analysis says otherwise. Record the product used, the strength and the test result.
🔢 The numbers worth memorising
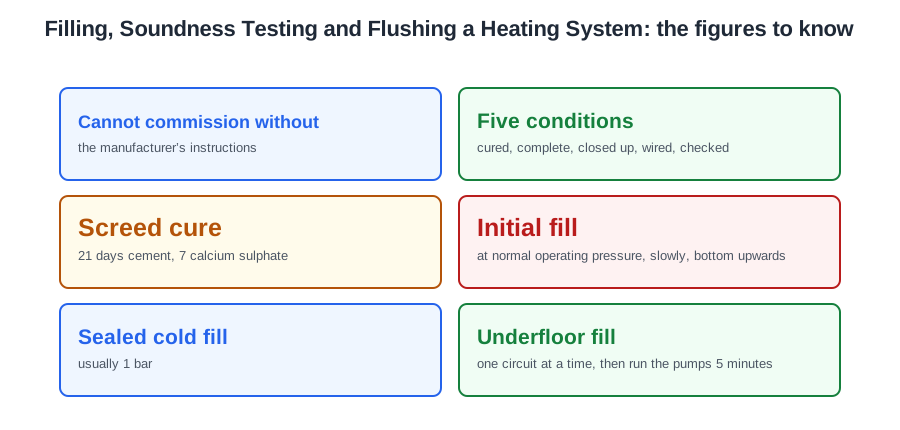
- Cannot commission without
- the manufacturer’s instructions
- Five conditions
- cured, complete, closed up, wired, checked
- Screed cure
- 21 days cement, 7 calcium sulphate
- Initial fill
- at normal operating pressure, slowly, bottom upwards
- Sealed cold fill
- usually 1 bar
- Underfloor fill
- one circuit at a time, then run the pumps 5 minutes
- Ground collector
- purged with a powered rig at high velocity
- Antifreeze
- measured with a refractometer or hydrometer, not counted in litres
- Heating soundness test
- 1½ × working pressure
- BS EN 14336
- 1.3 × working pressure for 2 hours
- Plastics Test A
- down to one third, held 90 minutes
- Plastics Test B
- under 0.6 bar at 30 min, 0.8 bar at 150
- Underfloor test
- 4 to 6 bar, one hour, left on for the pour
- Underfloor flush
- three times with clean water
- BS 7593 order
- clean → flush to drain → fit the filter → inhibit
- Inhibitor dose
- about 1 litre per ten radiators / 100 litres
- Filter position
- on the return, before the appliance
- Re-dose interval
- five years; check concentration annually
⚠️ Where people go wrong
- Filling and lighting a system to hit a Friday deadline. Cured, complete, closed up, wired, checked first.
- Reading temperatures in a building with the windows out.
- Leaving the pump in for the first fill.
- Filling fast, or from the top. Slowly, bottom upwards, in stages.
- Overfilling a sealed system. The relief valve simply lifts.
- Treating trapped air as a nuisance. It blocks flow, kills heat transfer, corrodes and makes noise.
- Using non-barrier plastic pipe. Oxygen passes straight through the wall.
- Leaving the filling loop coupled at both ends.
- Opening every underfloor circuit at once. The short loop fills; the long one keeps its air.
- Waiting at an air vent to purge a ground array. It needs velocity.
- Counting the litres of antifreeze added instead of measuring the mixture.
- Testing after the pipework is insulated or concealed.
- Expecting plastic pipe to hold a flat line. That is why Test A and Test B exist.
- Draining an underfloor circuit before the pour. You lose the only warning you would get.
- Calling a fresh water flush an adequate clean. BS 7593 says it is not.
- Leaving the cleanser in behind a filter, or neutralising an ordinary cleanser.
- Fitting the magnetic filter after the appliance instead of before it.
- Under-dosing the inhibitor, or never re-testing it.
📝 10-Question Self-Test
Straight from the Level 3 course question bank. Click an option to see whether you got it right — the explanation appears instantly, and there is nothing to submit.
The manufacturer’s instructions. They give the commissioning procedure for that appliance — gas rate or burner settings, pump speed, control setup — and the Benchmark checklist you sign off is bound into them. The Gas Safe Register is a register of businesses, not a document you commission from; it tells you who may work on the gas, not how to set that boiler up.
A pump started before the circuit is full runs dry, and the bearings and seal are not designed for it. It is one of the standard commissioning errors, alongside filling without flushing and letting the relief valve lift.
Three consequences from one cause, and none of them appear on a fault code.
BS EN 14336 clause 5.4 requires the heating system to be pressure tested to at least 30 per cent above the working pressure for a minimum of two hours. The 1.5 times figure still in circulation is the water installation test the Water Regulations guidance gives, quoted in the City and Guilds book as 1.5 times the maximum operating pressure; it is not the heating figure.
BS 7593 clause 7 sets the sequence for a boiler change: a pre-flush, a chemical clean circulated as the manufacturer directs, then a fresh-water flush to drain, an in-line filter fitted, and finally the inhibitor. The cleaner is removed by flushing; there is no neutralising step.
Add a corrosion inhibitor and keep it topped up. It coats the internal surfaces and holds back the electrolytic reaction between the steel, copper and aluminium in the system, which is what produces magnetite sludge. BS 7593 covers the clean, dose and check regime. Leaving a descaler in permanently is the opposite of a cure: an acid cleaner is meant to be flushed out and neutralised, not left to attack the metal.
Whether the equipment operates correctly is not part of the inspection. Inspection is what you can see, and BS 7671 Regulation 642.1 says it is done before testing and normally with the installation disconnected from the supply, so nothing is running. Regulation 642.2 covers correct selection and erection, and the 642.3 checklist adds selection of equipment appropriate to external influences, adequacy of access to switchgear and equipment, and erection methods. Proving it works is functional testing under Regulation 643.10, after energising.
A loop left coupled at both ends is one of the commonest contraventions found on domestic systems.
A buried array has no high point to vent from — the air has to be swept out.
A weep behind insulation or under a floor is a weep nobody finds until it has done damage.
Going further: the lessons behind this article
This article is the public answer. Unit 333 of the Level 3 course takes the same ground to the depth the exam and the synoptic assignment ask for, in 6 lessons:
- Before commissioning: the documents, the conditions and the inspection
- Filling and venting a metallic or plastic heating system
- Filling and venting underfloor circuits and ground collectors
- Soundness testing: pressures, durations and the plastics tests
- Cold flushing, hot flushing and the power flush
- Cleansers, neutralisers, inhibitors and the in-line filter
- Central heating systems: the Unit 333 guide — every article on this unit in one place
- All PlumbMate articles — Level 1, 2 and 3
- The Level 3 course — the whole 8202-35 Diploma